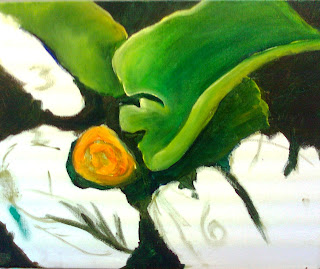
 I began the leaves...
 Try to start with the objects that are 'fartherest' away first then layer the objects that are on top of them next. I began with the small leaf on the right then worked my way counter-clockwise.
If you keep you hand out of wet paint, it is less likely you will smear the paint on your canvas. Also try to keep wet paint off your paint brush handle, that leads to messes too.
Do not just just one shade of green when working on large fields of green objects. I used not only sap green and pthalo green, but also ultramarine blue, two shades of yellow, brown and red in the leaves. Having subtle variations in color will make a work more painterly.
Bright highlights in green are better created with yellows rather than straight white, since the white will create a chalky color.
Blending can take many applications with a light touch to get a glassy smooth look. Use a soft flat or fan brush to blend.
Values, values, values - watch where you place your values. An object above another will be lighter and have brighter highlights. Use values to create the look of a the curl of the leaf. Not all value changes have to be drastic, small baby steps of differences will make a difference in the illusion of 3D in your paintings.
To be continued...

No comments:
Post a Comment